

Those who have encountered the “Failed to obtain IP address” error on Android are not alone. It seems to pester users of all Android phones and software versions. We’ll tell you why you’re getting the annoying error and how to fix it.
Why am I getting the “Failed to obtain IP address” error?
The “Failed to obtain IP address” error usually shows up when accessing a Wi-Fi network, whether it is new or one you have saved on your device. This error message means the router can’t assign an IP address to your device. As long as the issue persists, the user can’t access the internet using that Wi-Fi network.
Some users experience this error message differently. It can show up as “Obtaining IP address,” but the problem is the same, regardless.
How do I fix the “Failed to obtain IP address” error?
It’s hard to say exactly why this happens, but here are some tricks to try and get your internet connection to work.
Forget network
The first method you should try is to forget the network and sign into it again. The steps to take are simple and sometimes this is all it takes to get rid of the “Failed to obtain IP address” discrepancy.
- Open the Settings app.
- Select “Network & internet.”
- Select “Wi-Fi.”
- Long-press on the network you can’t connect to.
- Select “Forget network.”
- Log into the Wi-Fi network again.
Restart the router

If the phone is not the problem, the router could be. Try restarting it and see if that fixes it. Most routers have a reset button. You can also disconnect it and plug it back in.
Rename your Android device
We are not exactly sure why this would help, but many users claim it solves the issue. The process is simple too, so give it a go.
- Open the Settings app.
- Select “About phone.”
- Tap on “Device name.”
- Change the name to anything you wish and select “OK.”
- Try and reconnect to the router.
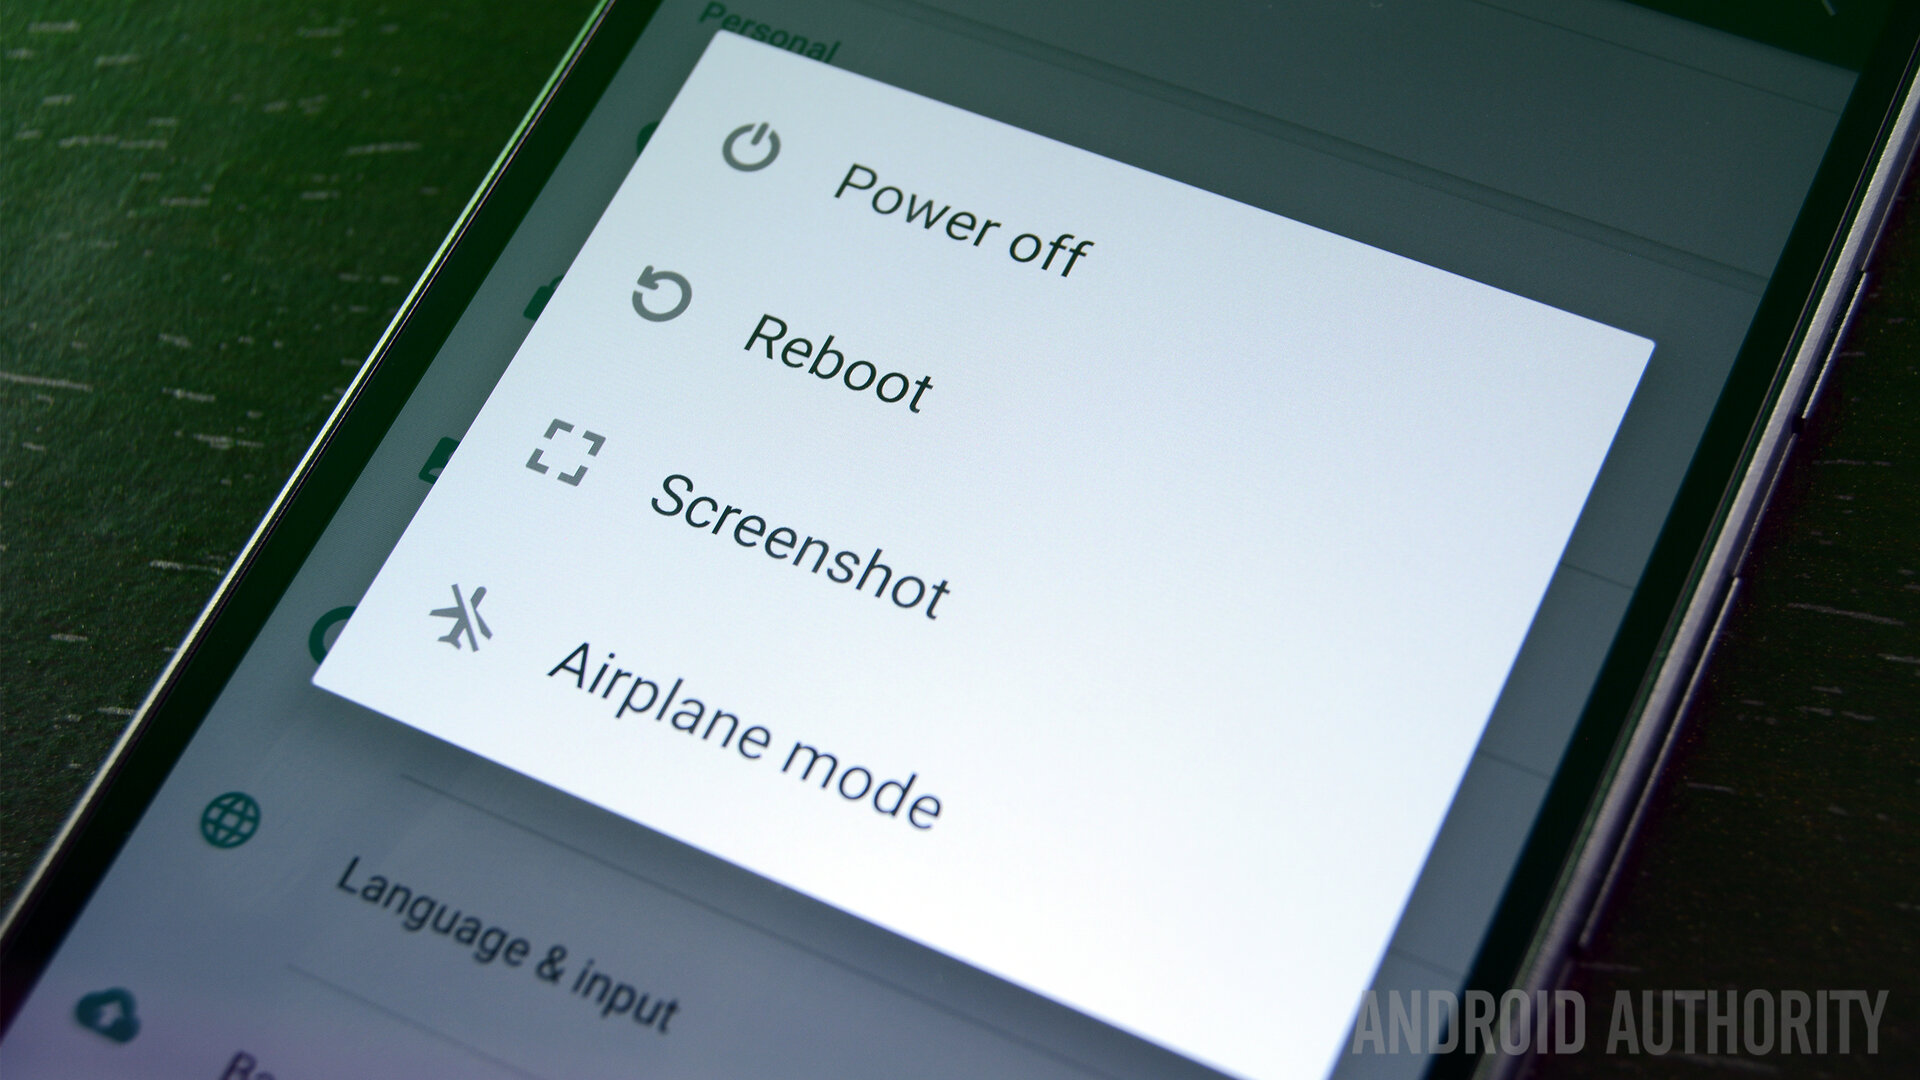
Turn Airplane mode on and off
Doing this forces the router to reconfigure your connection. Just turn Airplane mode on for a little bit, then turn it back on.
Use WPA2-PSK encryption
Some devices don’t work very well with certain types of encryption, including AES and TKIP. Go to your router settings and switch over to WPA2-PSK.
Is the MAC filter on?
Wi-Fi administrators often use MAC addresses to whitelist or blacklist devices on their network. This means that if your device is not on the whitelist, or is in the blacklist, it won’t be able to connect. The solution would be to either turn your router’s MAC filter off, remove your device from the blacklist, or add it to the whitelist.
Assign a static IP address
- Open the Settings app.
- Select “Network & internet.”
- Select “Wi-Fi.”
- Long-press on the network you can’t connect to.
- Select “Modify network.”
- Select “Show advanced options.”
- Look for “IP settings” and select “Static.”
- In the IP address, change the last number to any number between one to 225.
- Try to connect.
![]()
Clear Google Play Services cache
This method seems to be involved in every troubleshoot guide, and it’s because it involves so many things around your phone. Restarting the app from scratch can solve a plethora of problems.
- Open the Settings app.
- Select “Apps & notifications.”
- Find and tap on “Google Play Services.”
- Select “Storage.”
- Select “Clear cache.”
- Try to connect to Wi-Fi again.
Factory data reset
If all else fails, and the problem persists for a long period of time, you might want to consider performing a factory data reset. This will delete everything in your phone and bring it back to its factory state (software-wise). Make sure to back up any important files before proceeding.
- Open the Settings app.
- Select “System.”
- Select “Advanced options.”
- Select “Reset options.”
- Select “Erase all data (factory reset).”
- Select “Reset phone.”
One of these fixes should get you up and going in no time, or in a bit of time. Have any of you guys tried other methods? We would love to hear about them.
Also read:
- How to set up a router — a step by step guide
- How to fix the Google Play Store “download pending” error
- How to block websites on Android
https://ift.tt/2d4kg1q from Android Authority https://ift.tt/2Y1wroN
via IFTTT
Post a Comment